Set Up Speech Recognition and Voice Control
objectiF RM offers you the ability to convert speech into text. This is done through a microphone receiving input data (speech), which is then processed by the Automatic Speech Recognition (ASR) program from Microsoft Azure Cognitive Services and generating the output data (written text) into the description fields for the system elements. You will need a Microsoft Azure account and its access data to use this function.
With version 8.5, the speech recognition feature has been also upgraded with an integrated voice assistant function. With the help of the voice assistant, users can search for and open diagrams, queries, hierarchical queries and all possible different types of views.
A pre-requisite for using the voice assistant is a container platform docker installed onto a Linux server. Here, you can load the docker image from version 8.5 and start the container. The docker image can be found in the following file: C:\Program Files (x86)\microTOOL\objectiF RM\Server\8.5\Resources\microTOOL AI\microTOOL_AI.tar.
Further information about how to initialize the docker container can be found in a separate document.
If the speech recognition and voice assistant features have been activated, they can be used within the entire system.
Activate and Use Speech Recognition
With the speech recognition function, users can transpose speech into text for description fields via a microphone.
Activate Speech Recognition
Ony those with administrator access rights can enable the speech recognition function.
- Go to the Backstage menu and select Settings/ General settings.
- In the Edit settings dialog, go to the Speech recognition tab.
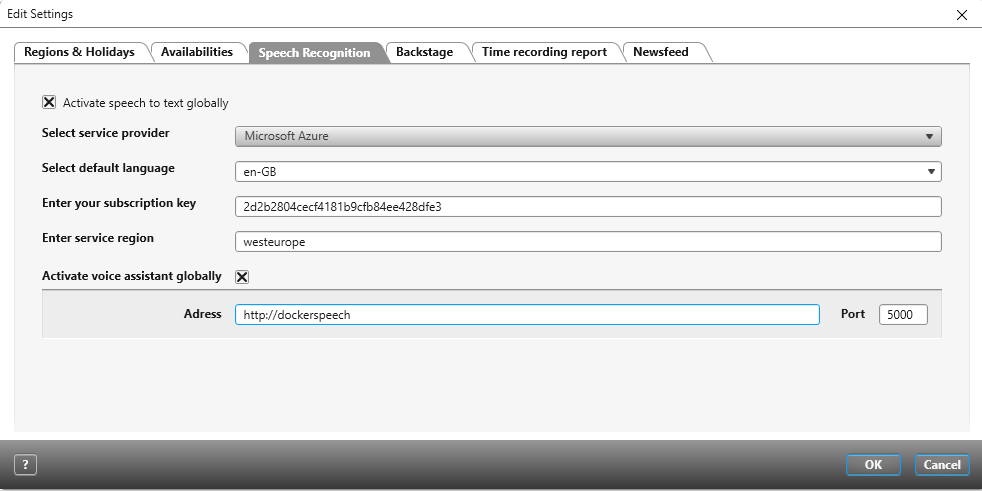
- Select the checkbox for Activate speech to text globally. Microsoft Azure is the default service provider.
- In the drop-down menu for Select default language, enter the input language which the system should recognize; the text generated from this input data will be in the same language.
- In the field for Enter subscription key, enter the subscription key generated from your Microsoft Azure account.
- Enter the region for your Microsoft Azure account in the field for Enter service region. The speech recognition function will now be available for all RTF editors and can be accessed through its icon.
Use Voice Recognition
In order to be able to use the voice recognition function, you will need to connect a compatible microphone with your operating system. When using the function, make sure you are doing so in a quiet environment. Any audio interference can cause the function to make errors in generating text.
- Open the editing dialog of an element of your choice.
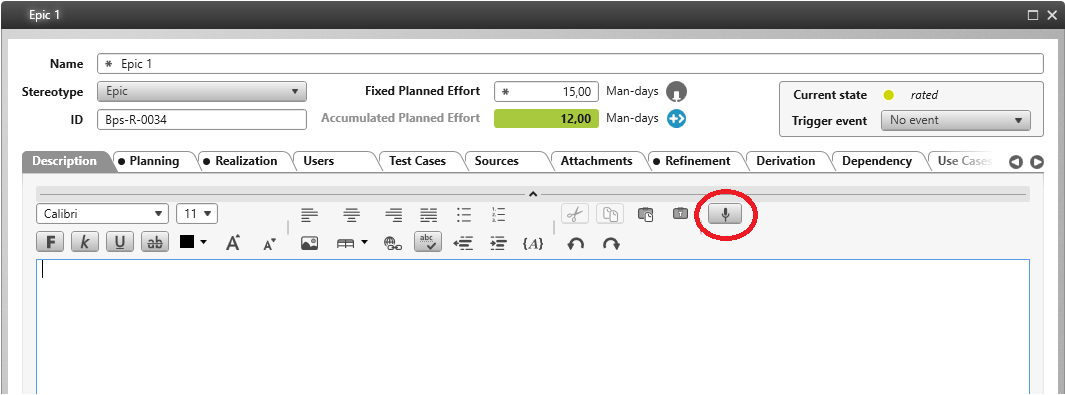
- Go to an RTF input field. An RTF (rich text field) is a text input field that has various options for formatting text.
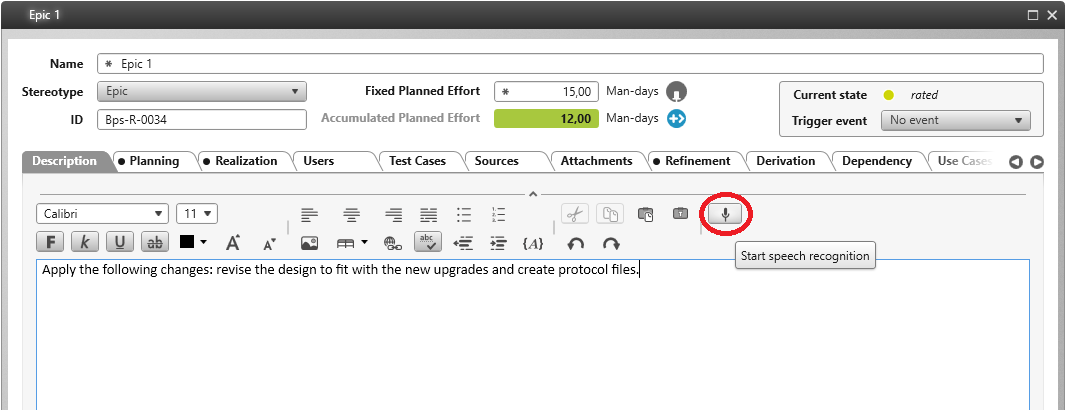
- Click on the microphone icon to activate the speech recognition function.
- Speak clearly into the microphone.
- Once you have finished speaking, click on the microphone once again to end the recording.
- Save your changes.
Activate and Use Voice Assistant
Activate voice assistant
Administrative access rights are required for activating the voice assistant.
- In the Backstage menu, go to Settings/ General settings.
- In the dialog for Edit settings go to the Speech recognition tab.
- Select the checkbox for Activate voice assistant globally.
- Configure the speech recognition function as in the previous section.
- Select the checkbox for Activate voice assistant globally.
- Ín the section below, enter the address and the server port for the docker container.
- Click OK to save your choices.
Use Voice Assistant
The voice assistant feature also requires a microphone to be connected to your operating system. When speaking into the microphone, do so loudly and clearly. The input data (speech) is generated into text and entered into an input field. If there are any errors made during this process, you can simply make the necessary corrections in the corresponding text fields. With this feature, you can also open all types of queries and diagrams.
- Open an organization or project.
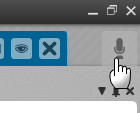
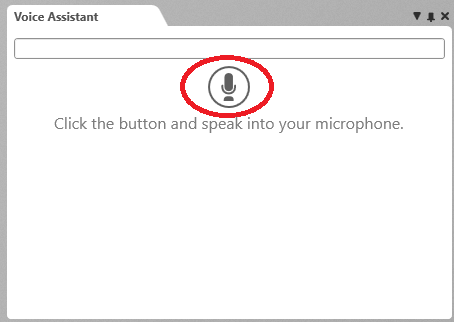
- Click on the microphone icon in the upper-right hand corner.
The voice assistant opens in its own window to the right-hand side of the project/ organization view.
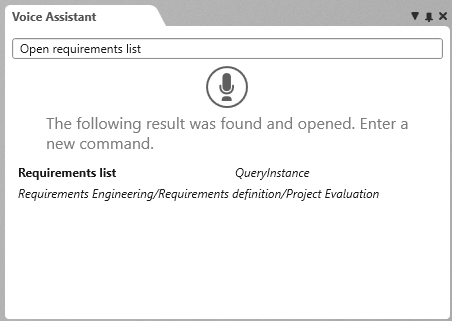
- To activate the voice assistant, click on the microphone icon in the window and say something into the microphone. Begin with a command such as: “Show requirements list”.
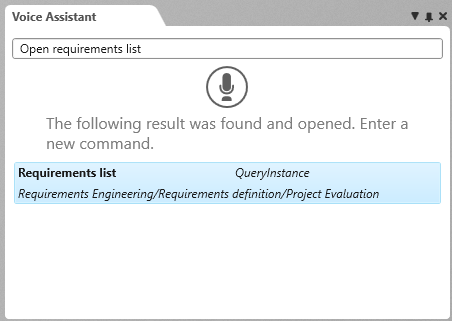
Alternatively, you can manually type a command into the textbox of the window. Upon the execution of a command, the results are displayed in the same window.
Double-click on the results to open them.


