Dialog “Edit Hierarchical Query”
Version 6.2 and higher
In addition to queries and detail queries, you can also create hierarchical queries. These queries are suitable for displaying dependencies and relationships between the individual project elements. This makes it possible to see at a glance from which goals requirements have been derived and which test cases check these requirements. You can also use the queries to map a package hierarchy or parts of it.
You create hierarchical queries
- via the context menu of a package with the command Create other/ Hierarchical Query
Dialog
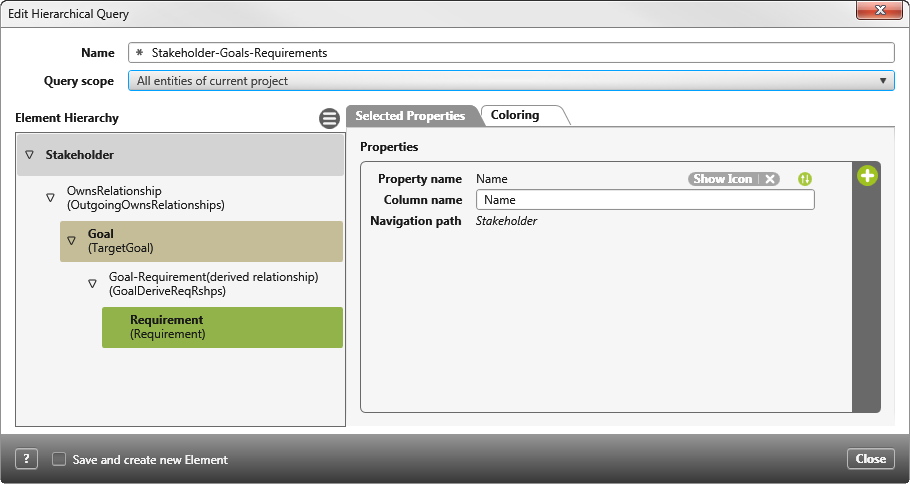
Name Name the query.
Query Scope Use the dropdown menu to specify the scope of the project to be searched. Do you want all requirements to be displayed? Or do you only want to see requirements from a specific package?
| All entities of current projects | You do not need a context element. The query displays all elements of a type that are in the project. |
| All entities of packages | The query displays all elements of a type that are in a package. |
| All entities in package hierarchies | The query displays all elements of a type that are in a package. If the package contains other packages, these are also taken into account. |
| All entities of artifacts | All elements of a specific artifact are displayed here. For example, if you want to see all tests for a Test Set execution. |
| All entities in artifacts hierarchies | If you map a hierarchy using an artifact, all elements that you are within the hierarchy are displayed. For example, you have nested test set executions, which in turn have test. |
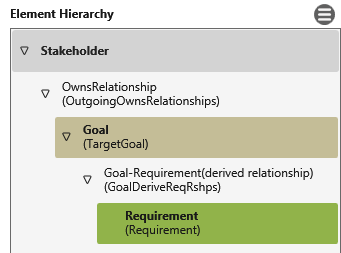
Element Hierarchy Use the Edit button to select the element types and relationships to be displayed in the query in the subsequent dialog. Make a selection by selecting the checkboxes in front of the element. The elements are accepted as soon as you click OK. You can set a recursion for some relationships and element types. As a rule, only relationships between elements should be displayed, but not the relationship itself. If this is the case, select the desired element type and deactivate the relationship by clicking on it.

The blue checkbox indicates that the relationship is disabled. You can also check in the overview whether the relationship is displayed or not. The relationship must be displayed in normal font and is not marked in bold like the element types to be displayed.
Tab “Properties”
If you click on an entry (e.g. Goal (Goal)) on the left, you can use the plus button from the subsequent dialog to specify the properties (name, description) that you want to see in the query for the element.
The selected properties are listed as individual rows with property Name, Column name and Entity path. Under Column name you can specify the name of the column in the result list.
If you want to remove one of the properties from the query, move the mouse over the property to be deleted and click on the delete icon.
The order of the properties determines the arrangement of the columns in the result list. You can easily change them by selecting a property and dragging it to the desired position.
Tab “Coloring”
You can define a color for each element so that you can later separate the results from each other or recognize them more quickly. By default, no color is selected. Under Element Hierarchy, select an element/relationship and activate the Customized color option.
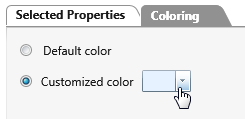
To select a color, click the drop-down menu and select a color from the palette. Once you have made a selection, you will see the assigned colors under Element Hierarchy on the left.