Create and execute an extension function
With the help of extension functions, teams can independently write new functions or create interfaces to other systems. If you want to use an extension function, you must write one or more functions to be executed in a code file. You also need a response file and a request file that define the structure of the input and output data, and a command that executes the extension function in objectiF RM.
Example
In this example, the output should show how many test sets failed in a test set execution.
Create the extension schema
In the first step, you create the schema. The extension schema defines which properties can be evaluated using an extension. Depending on what you want to do, you need a schema that reads the data from objectiF RM and a schema that writes the changed data back again. If you handle input and output data in a function, you only need to create one extension schema.
- Create an extension schema using the context menu command of a package with Create other/ Schema.
- Assign a name to the sub stereotype (from package) TestManagement, since the extension function is executed later using the context menu of this package.
- Switch to the Schema tab and select the properties that the function requires.
In this example, the following properties are selected: the Id in the TestSetExecutionArtifacts list, the ID and Name under TestArtifactRelationship, and the Name property under Current state.
- Confirm with OK.

Create the extension function
- From the context menu of a package, select Create other/Extension Function.
- Assign a name and select the same stereotype that you selected for the extension schema.

- Ensure that the “Generate Directory including Main File” check box is activated. Save and close the dialog.
A directory with initial files is created under the extension function. At the same time, the Index.js file is assigned to the extension function as the initial file.

- Ensure that the “Generate Directory including Main File” check box is activated. Save and close the dialog.
A directory with initial files is created under the extension function. At the same time, the Index.js file is assigned to the extension function as the initial file.
Write the code
In the next step, the developer writes his function in a suitable editor. If you have defined Visual Studio Code as the default program on your computer, you can open *.js files by double-clicking them. Otherwise, select Open File in VS Code from the context menu of the file.
- In the context menu of the directory containing the code file(s), select Open directory in VS Code.
The entire directory is checked out and opened in Visual Studio Code. - Edit and save the files.
Code Snippet
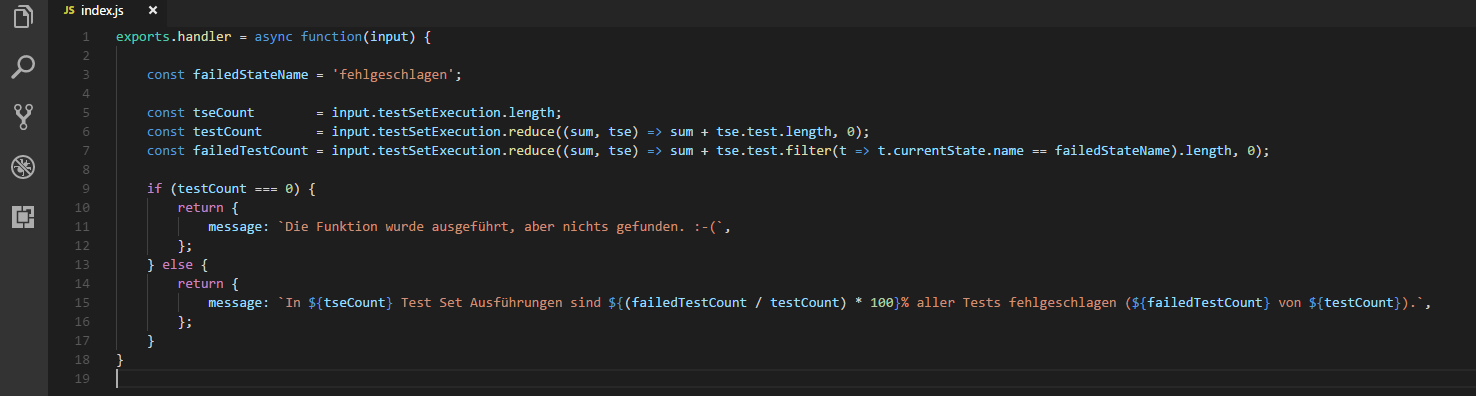
Open the generated Index.js file and replace the function with this code:
exports.handler = async function(input) {
const failedStateName = 'failed';
const tseCount = input.testSetExecutionArtifacts.length;
const testCount = input.testSetExecutionArtifacts.reduce((sum, tse) => sum + tse.testArtifactRelationships.length, 0);
const failedTestCount = input.testSetExecutionArtifacts.reduce((sum, tse) => sum + tse.testArtifactRelationships.filter(t => t.currentState.name == failedStateName).length, 0);
if (testCount===0) {
return {
message:`Function finished successfully but nothing could be found :-(`,
};
} else {
return {
message:`In ${tseCount} Test set executions,${(failedTestCount / testCount) * 100}% of all tests have failed (${failedTestCount} of ${testCount}).`,
};
}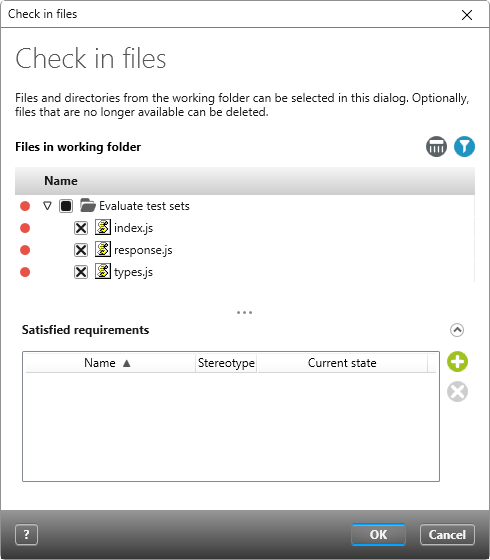
}- Now select the Check In command from the directory context menu to apply the changes.
- In the next dialog you will see the files that have changed. Selected files are checked in and overwritten when you click OK.
Create a command
To be able to execute the extension function, you must finally create a command that is offered to you via the context menu.
- Switch to the backstage menu and select Project/Extension Function commands.
- In the Extension Function commands view, click the Plus button at the top right to create a new command.

- In the following dialog, name the command and select the extension function you just created under Executed Extension Function.
- Under Positioning, you specify the context menu group in which the command is to be placed.
If you have several commands in a group, you can use Weight to determine the position within the menu where the command is to be sorted.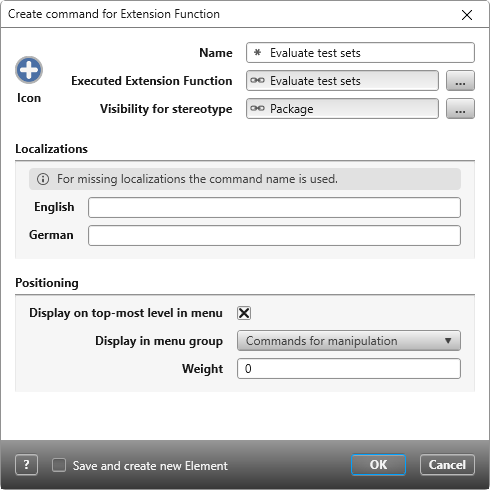
You can also create your own group for the context menu by selecting User defined under Display in menu group. - Close the dialog by clicking OK.

Note
If you want to delete an extension function later, you must first delete the command in the Extension Function commands view.
Execute the command
You can use an extension function manually from the context menu, configure a task, or perform an action in the state machine. The command is only executed on TestManagement packages.
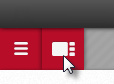
- In the context menu of a package, select the configured command Evaluate test sets.
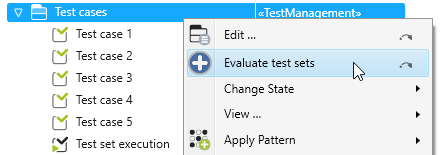
The extension function is executed and the output shows the percentage of failed tests.