Create test case
Test cases check the developed requirements. There are test cases that control the functions or the quality of the requirements. Others test the required compliance with norms and standards. Each developed requirement should therefore be checked by at least one test case. At the latest when the test manager knows which requirements are to be tested, test cases must be created and assigned to the requirements.
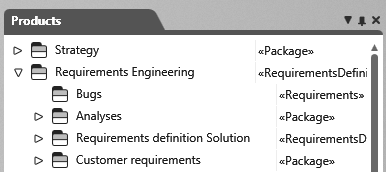
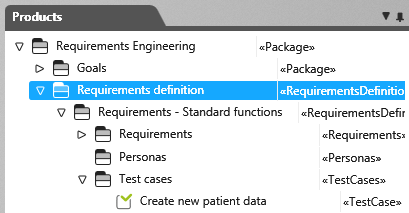
Create test case via package
In objectiF RM, you can create test cases in the Products view using the Create/ Test Case context menu command.
- Open the window Products by eye with the Show Products command.

- Determine a package that is to contain the requirements and choose the context menu command Create / Test Case.
- In the editing dialog of the test case, you will find various tab pages in which you describe the test case in more detail. Alternatively, you can use activity diagrams and test scenarios as text descriptions.

- On the Teststeps tab, describe the procedure in detail so that the tester later knows how to execute the test case correctly.
- Click OK. The dialog closes and the test case is created in the package.
Create test case via commands
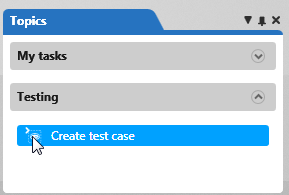
You can define a command for the topic bar as well as for queries to create test cases directly from a topic/query. A click on the entry then creates a new test case. You specify the package in which the test cases are to be stored when configuring the command.
- Open the topic bar or a query for which such a command was defined.
- Click on the plus button Create test case.
The editing dialog opens.

- Enter a name and go through the individual tab.
- Then click OK to save the test case.
The test case is created in the specified package.
Create test case in a diagram
You can also create test cases in requirement and use case diagrams. Each of these diagrams has the Create Test Case button in the toolbar.
![]()
If you create test cases in a diagram, the test case is stored in the package where the diagram is located. Once you have created the test cases, you can move them to another package (using drag and drop) without removing them from the diagram.
- Open or create a use case diagram, for example.
- Click on the Create Test Case button in the toolbar.

- Click on a free space within the diagram.
The editing dialog opens.
- Enter a name and go through the individual tab pages.
- Then click OK to save the test case.
The test case appears in the diagram.
The test cases created in use case diagrams can be related to use cases via a verify relationship. This also applies to test cases created in requirement diagrams. Again, you can relate requirements and test cases to the verify relationship.
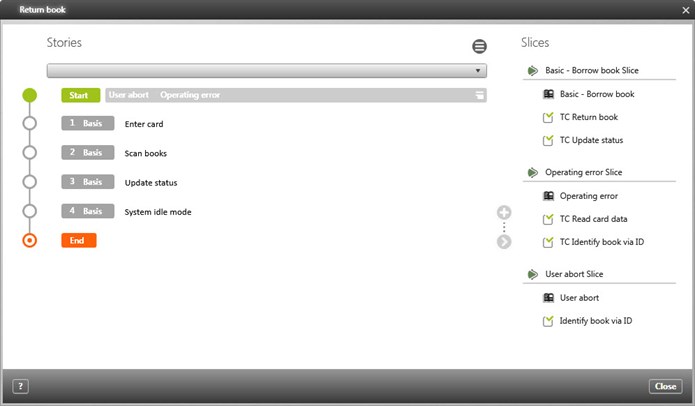
Create test case in the slicing pane
You can also create a test case directly for a slice in the slicing pane. This creates a relationship between the test case and the slice. In the test case form, the selected slice is stored in the tab page Satisfied by Elements.
- Open the slicing pane by choosing the Slicing command from the context menu of an use case.
- On the right side, select a slice under Slices and click the plus button.
- Enter a name in the subsequent dialog and go through the individual tab pages.
- Then click OK to save the test case.
The test case appears below the slice. - If you create test cases using the slicing pane, the test case is stored in the package where the slice is located.