Create states for a project
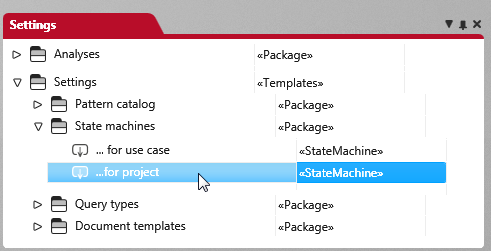
In the first step, you have created a new state machine and created the states that are to be offered later when the state is changed. In the second step, you model the states in a state diagram and define the state transitions. You are in the Settings window.
- Open the created state machine for the project with a double click.
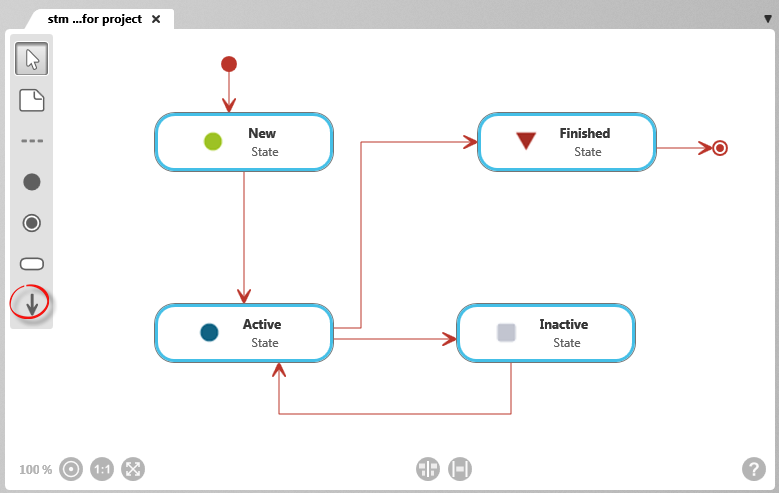
An empty diagram opens in the middle of the screen. Now model the state transitions with start point, end point and relationships.
- To create states, select Create State from the toolbar on the right and then click on the diagram background. Name the state. If you click on the grey button to the left of the name in the “Edit state” dialog, you can assign an icon to the state.
Tip
In the installation directory C:\Program Files (x86)\microTOOL\objectiF RM\Client\x.x\Resources\StateIcons you will find icons that you can use.
In the installation directory C:\Program Files (x86)\microTOOL\objectiF RM\Client\x.x\Resources\StateIcons you will find icons that you can use.
- Create state transitions by clicking on the Create Transition button in the toolbar and then connecting the desired states by clicking first on one and then on the other.
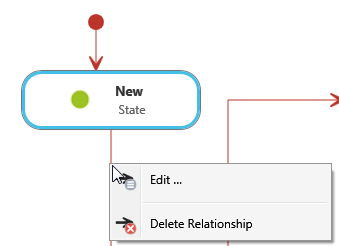
- Name the state transitions by right-clicking on the red line and choosing Edit.
- Click on the plus button and enter a name of your choice or select an event using the arrow button. The name for the transition appears above the red connecting line and can be moved as required.
- Click OK.
- Repeat the steps for each state element.
In the userboard the state is then displayed in the right tile corner.


