Dialog “Create Class”
A class describes a set of objects that have the same characteristics and the same semantics. Classes can also be supplemented with attributes and methods.
The dialog can be opened:
- via the context menu of a package with the command Create/ Class
- in a class diagram via the Create Class button.
The dialog
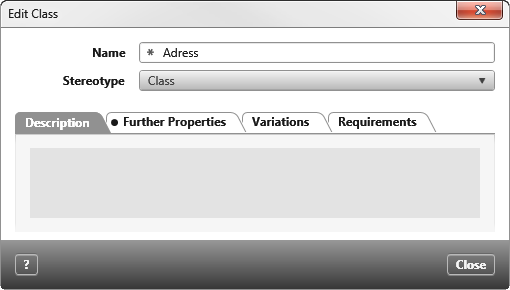
Semantic Name This is where you enter the semantic class name. It will be used and displayed in all diagrams and views.
Technical Name The technical name is automatically derived from the semantic name. It can be edited if necessary. But remember, it has to remain unique within the surrounding package.
Generic Parameters Use this field to specify generic parameters for the class. Generic parameters are placeholders for specific data types.
Base Types Enter the base types of a class here.
Type Constraints Apply restrictions that the type must adhere to when the class is instantiated. For example, that the type must support a specific interface.
Class is partial Check this box to make the class partial. Use partial classes to divide the source code of a C# or Visual Basic .NET-class among several individual class definitions. The class definitions can be assigned to different source files so that each file represents a different portion of the code. When the application is compiled, all of the parts are merged.
Stereotype Select the appropriate stereotype from the drop-down list. Depending on the chosen stereotype you can define Further Properties using the respective tab.
Visibilty Defines the visibility of the class. The alternatives offered in the drop-down list depend on the programming language assigned to the package. The visibility chosen determines to what extent other classes have access to the class.
Tab “Description”
You may enter a description here.
Tab “Further Properties”
If the selected stereotype has user-defined properties you can define the values here.
Tab “Variations”
If variations have been created in the project, you can add them to the class using the plus button.
Tab “Requirements”
Here you see a list of all requirements that are fulfilled by the class.