Customize working directory
The working directory is the folder in which documents such as images, pdf´s, etc. are stored when the Check Out, Get Last Version command is executed on a directory or file. By default, the working directory is where the application is located. However, the working directory can be set manually when checking out or in the settings of an individual user.
Change working folder when creating
When creating a new directory or file, you can specify where the directory or file is to be stored temporarily, e.g. when cheking out.
- Create a new directory via the context menu of a package with the command Create/ New Directory.
- Deactivate the option Use Default Working Folder. The field below becomes active and you can change the path.
- Click the […] button to select a new path.
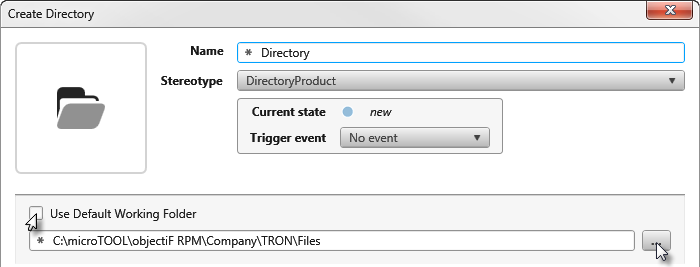
- Confirm your selection with OK. If you borrow the directory now, the new directory will be used.
If you want to use the default directory instead, activate the option Use Default Working Folder. The field below is deactivated and the set path is replaced by the default directory.
Change working folder when check out
When cheking out a directory or a file, you can also specify where the directory or file is to be cached.
- Select the Check Out command from the context menu of a directory/file.
- Deactivate the Use Working Folders option. The field above becomes active and you can change the path by clicking the […] button.
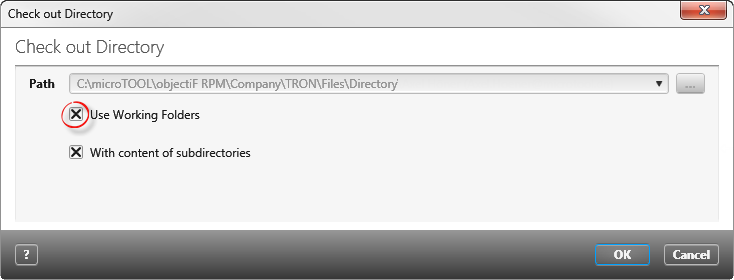
- Confirm your selection with OK. If you check out the directory now, the new directory will be used.
If you want to use the default directory instead, activate the option Use Working Folders. The field below is deactivated and the set path is replaced by the default directory.
Customize working folder for a user
The project administrator can set an individual working directory for each user.
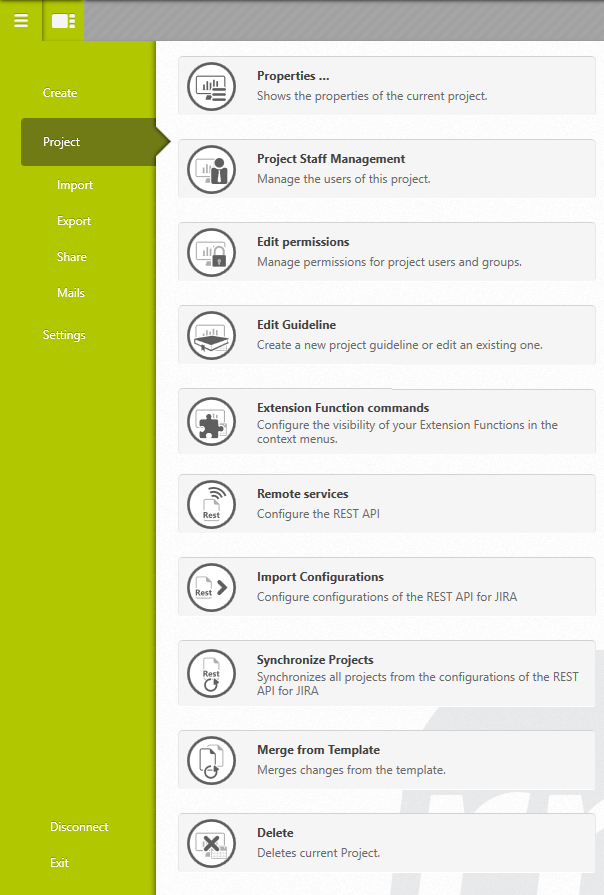
- Open the Project Staff Management view from the backstage menu.
- Select an user in the view and choose Edit from the context menu.
- In the subsequent dialog, enter the new working directory under Default Path using the […] button.
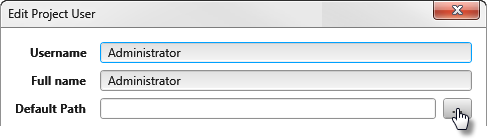
- Confirm with OK. If the user check out a directory later in the project, the folder specified above is used.