Create views
Unlike queries, views use predefined evaluation types that essentially define how the data is displayed. Depending on the view type, you can display different contents and adapt them at any time. objectiF RM offers the following view types:
General views
- Backlog views (shows requirements and use cases)
- Directories with files (shows directories and files hierarchically
- Kanban Board for elements
Creating new view
- Open the window Products by eye with the Show Products command.

- Determine a package and choose the context menu command Create other/ View.
- Under Type, select a view and rename it under Name if necessary.
- Under Context element, select the project, activity, or package.

Under View Configuration, you determine which properties you want to display.
- To do this, click – on the left – on the respective entity to display its properties …
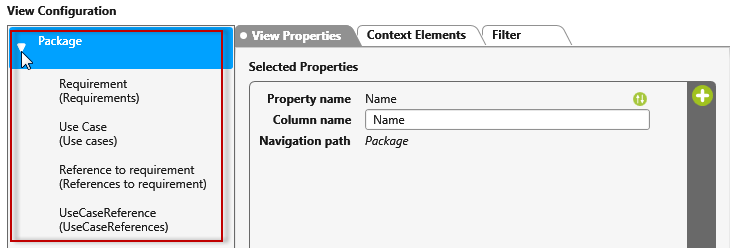
- …right – via the plus button.
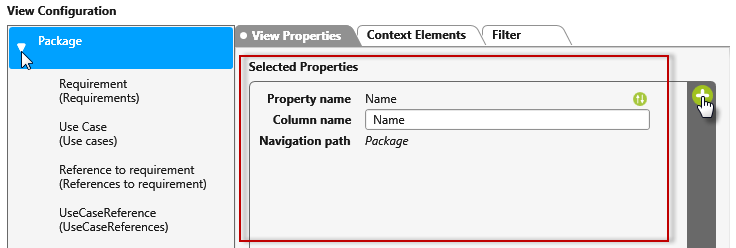
You can overwrite the Column name field. By default, the name of the property is entered there.
- Click OK to create the view.
Context element
You use the context element to determine which package, activity, and so on is to be evaluated in the view.
For views of the type Domain Backlog, enter a backlog – that is, a package with requirements – on the Context Elements tab.
For views of type Requirements backlog, specify the package to which the requirements are to be moved on the Context Elements tab on the left under Backlogs – a source package and on the right under Target Backlogs.
You can use these views to move or reference requirements from one package (for example, requirement definition) to another package (for example, release backlog).
Hierarchical option
You use the Hierarchical option to specify that requirements are also to be searched for in subordinate packages and displayed in the view.
Filter
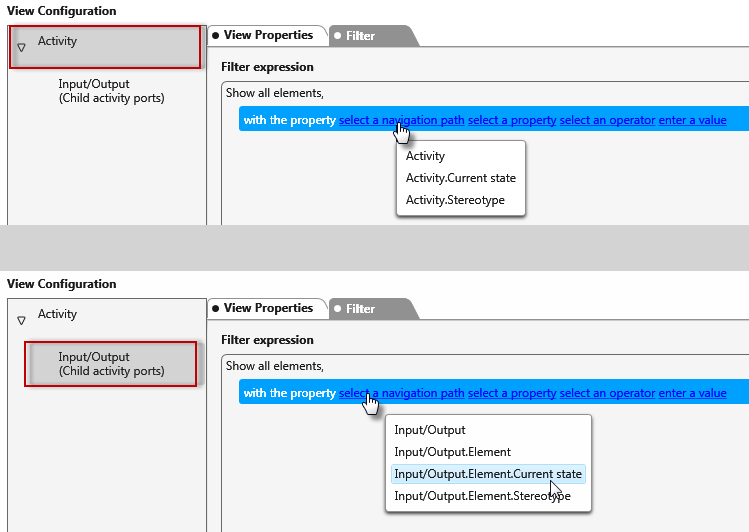
On the tab page, you can define one or more filters. To do this, click the plus button. The filter expression consists of two parts:
Select Navigation Path
Depending on what you have marked on the left side, you will get all available category properties for this type, which you can select with a click.
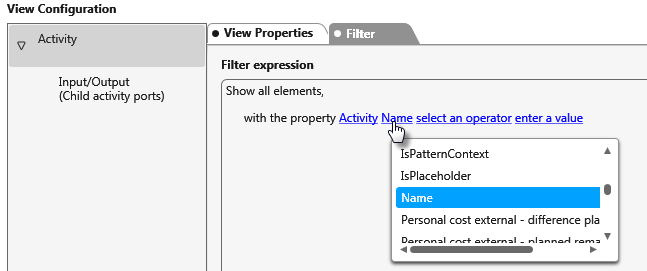
Select property
Depending on which category you have selected, you will get all available properties that you can select with a click.
Select operator
Select an operator by clicking on it.
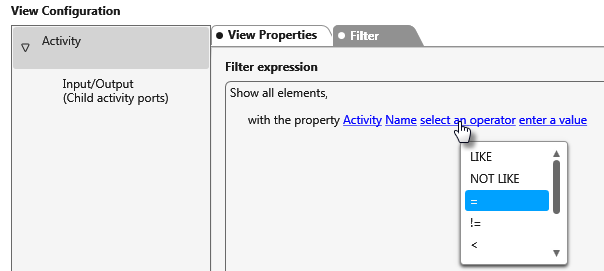
| LIKE | Checks the value for matches and displays the data that contains the value. |
| NOT LIKE | Checks the value and displays the data that does not contain the value. |
| = | Displays the data that is identical to the value. |
| != | Displays the data that does not match the specified value. |
| < | Displays the data whose value is smaller. |
| > | Displays the data whose value is greater. |
| <= | Displays the data whose value is less than or equal to |
| >= | Displays the data whose value is greater than or equal to |
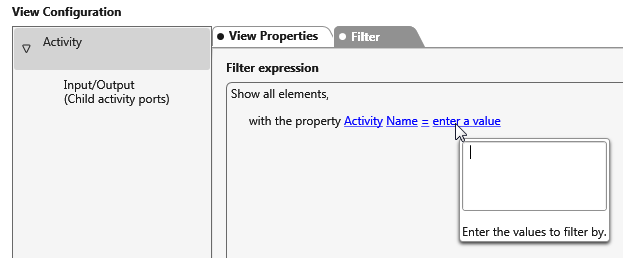
Select comparison value
Enter the value here. You cannot select values from a list. You must know the values and enter them in the field.
Examples
Requirements with revisions
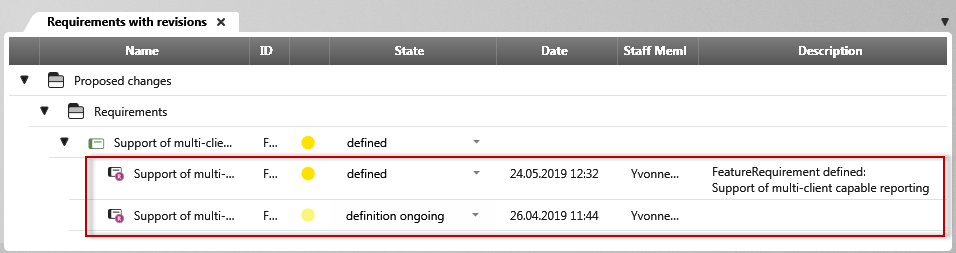
In this view, you see the revisions that were created for the individual requirements.
Requirements backlog
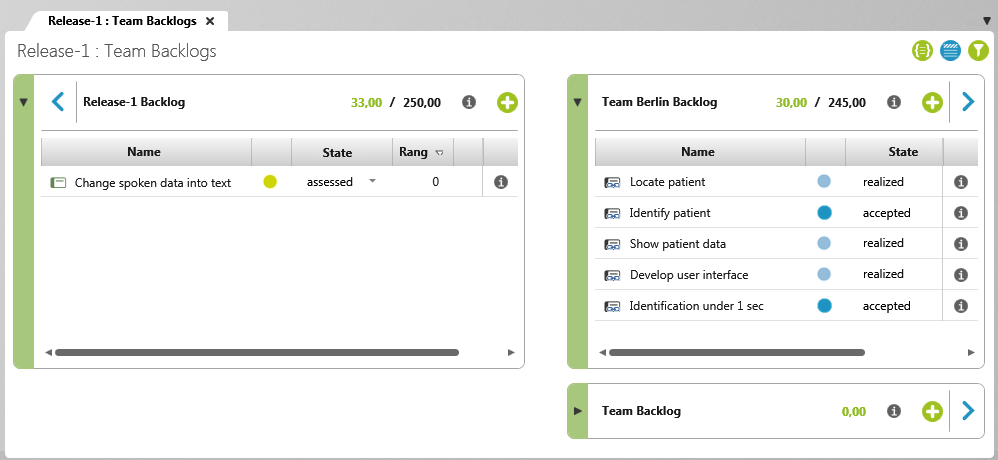
Using backlog views, you can quickly and clearly prioritize, edit, and distribute requirements for further development in release backlogs.
Domain backlog

The identified requirements and use cases are collected centrally in a domain backlog and distributed from there. This is the “starting point” for release planning.
Directories with files
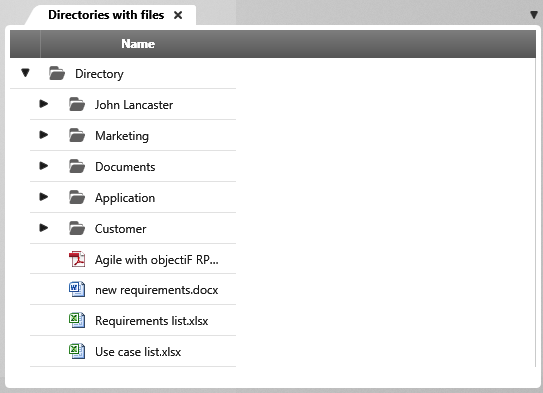
In this view, you can see which files are stored in the directories.