Importing Projects and Sub-Projects
If you wish to import a project into a different system, make sure that both systems- the systems you are exporting from and importing into- have the same versions of objectiF RPM running. If not, the import will fail.
Import Project
In order to create projects, a user will need administrative access rights. If a user doesn’t possess these permissions, the command for New Project in the Backstage Menu will be deactivated.
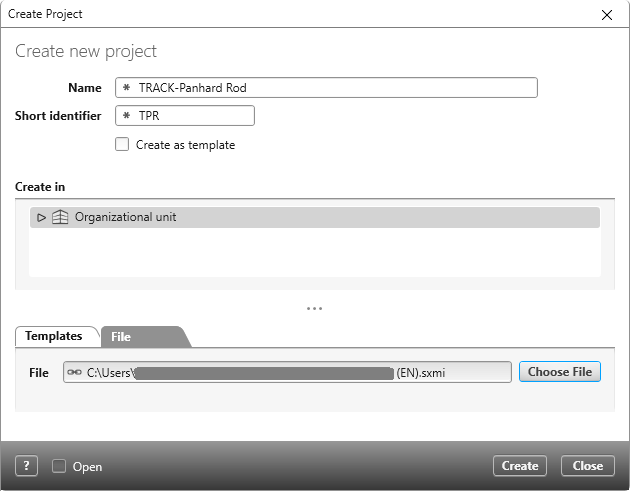
- Go to the Backstage menu.
- Click on Create/ New Project.
- Name the project and assign it a short identifier.
- Choose an organization in which the project will be created.
- Go to the File tab and click on the button for Choose File. Choose the .smxi file you wish to import.
Only whole projects can be imported this way. There is a different process for importing individual project elements.
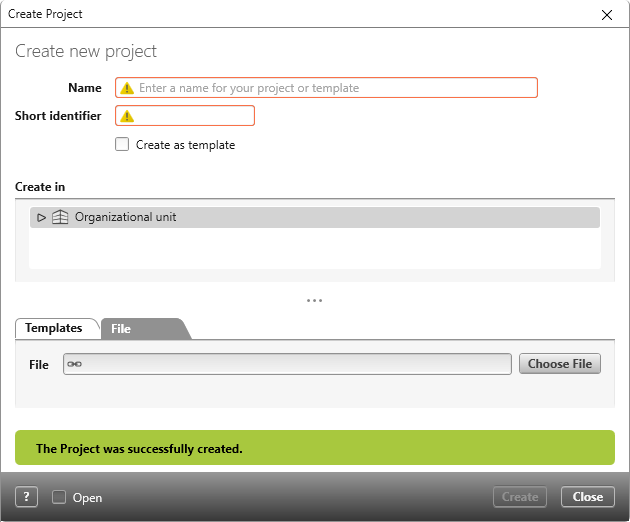
- Click on Create.
A message will appear when the process is complete.
Import Sub-Project or Individual Project Elements
The process for importing individual project elements or sub-projects is similar to that of entire projects. There are, however, a few crucial differences you need to be aware of.
Importing into a Project with an Identical Project Template
With project elements which you have exported and wish to import into a different project, a factor that must be considered is whether or not the project from which you are exporting and the project you are importing into are composed from the same project template. If so, project elements, such as packages, will have the same target package when imported as the package they originated in. Even if the names of the packages have been changed, the fact that both projects were built from the same template means that the system matches the packages in the source and target projects and imports accordingly. Whilst there is no way to specify a different target package that already exists in the project you are importing into, it’s possible to create a new one. To do this, you first need to create the new package in the project you are exporting from and move the elements you want to export into this new package. When you export these elements and import them into the target project, a package of the same name will then be created in the Packages window of the target project and the imported elements will be stored there accordingly.
- Open the target project you wish to import into.
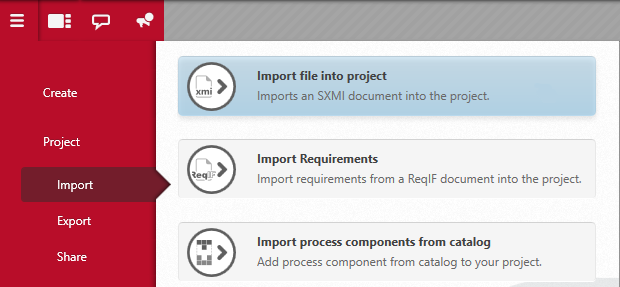
- Via the Backstage Menu, click on the command Project/ Import/ Import file into project.
- In the dialog that opens, click on Choose File and select the files you wish to import. Then click on Import.
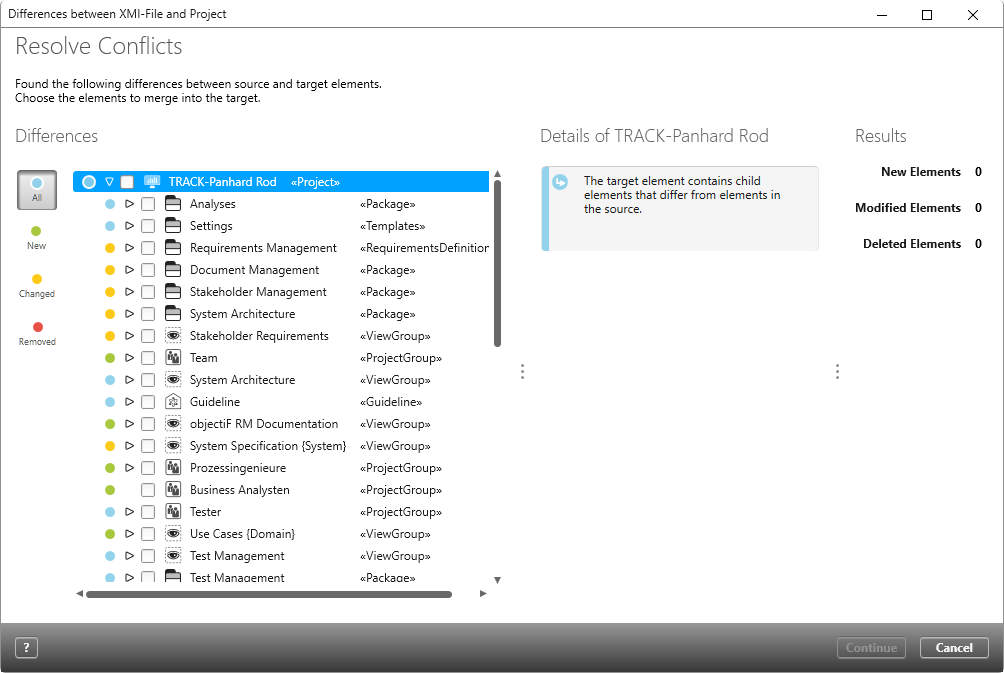
- objectiF RPM then compares the source and target projects and displays what can be imported into the latter. Each element will have a coloured point next to it, which signify if an element is new or already exists in a different form.
Even when you have only exported one element, such as a requirement, it can have relations to other elements in the source project. These related elements will also be imported into the new project, unless they are deselected.
- Select the checkboxes of the elements you wish to import. In addition to the elements themselves, properties, state machines, references, etc. are also shown. Click on Continue to begin the import.
Importing into a project with a different project template
If the source and target projects have been composed from different project templates, the packages containing the elements being imported into the target system are also imported. In the Products window of the target project, the imported packages are shown at the very top with the same name and contents as it had in the source project.


