Create use cases
Use cases can be created in different ways, using forms, diagrams or queries and views.
Create use cases in a package
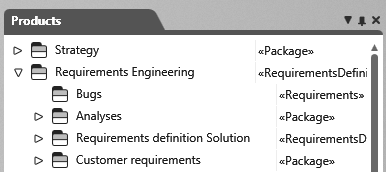
- Open the window Products by clicking the eye and then clicking the Show Products command.
- Choose a package for the use case and use the context menu command Create/ Use Case.
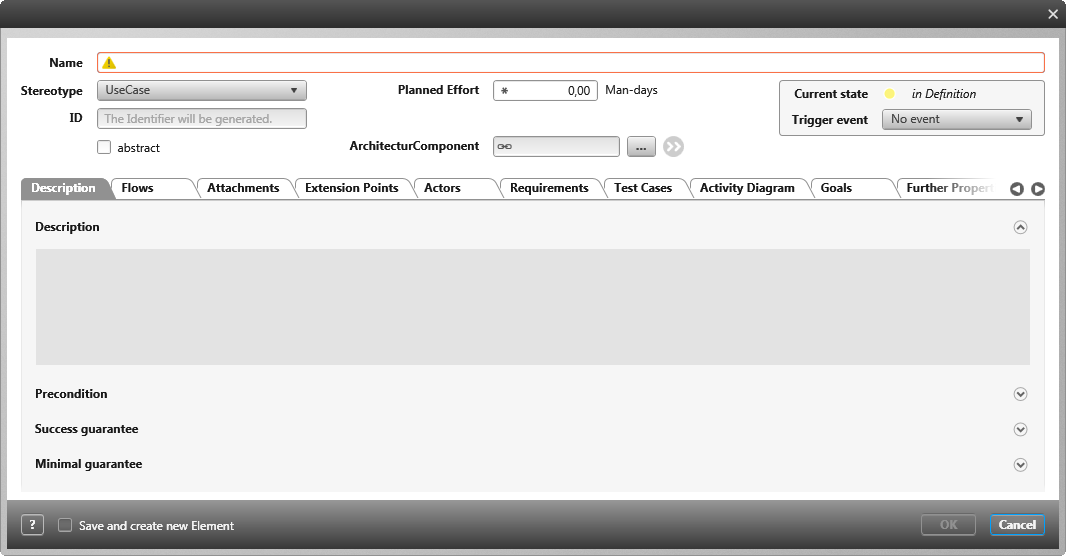
- In the use case dialog, you can enter all information about the life cycle. Enter a name for the use case, select a stereotype, enter a planned effort, and so on.
- Click OK. The dialog closes and the use case is created in the package.
Create use cases in a diagram
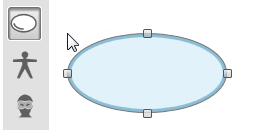
You can also create use cases in a use case diagram. The Create Use Case button is located in the toolbar.
If you create use cases in a diagram, the use case is stored in the package where the diagram is located. After you have created the use cases, you can move them to another package (using drag and drop) without their being removed from the diagram.
- Open or create a use case diagram.
- Click the Create Use Case button in the toolbar.
- Click on a free space within the diagram. The editing dialog opens.
- Enter a name and go through the individual tabs.
- Then click OK to save the use case.
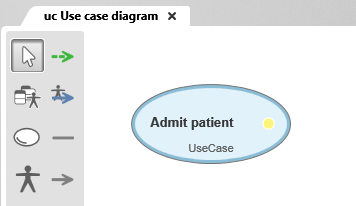
The use case appears in the diagram.
Create use cases in backlog views
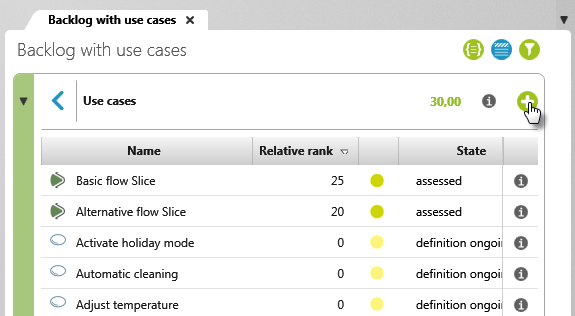
If you prefer to work with backlog views, you can also easily create use cases there. The package for the use cases is specified when creating a backlog view.
- Open a backlog view.
- Click on the plus button at the top right and select Use Case.
The dialog opens.
- Enter a name and go through the individual tabs.
- Click OK to save the use case.
The use case will appear in the backlog.


