Add/Swap Control Elements
When forms are no longer up-to-date or they further control elements, you can use the command Placing to help shape the form to your needs.
Add via Toolbox
Use this option if you want to extend the features of forms.
- Open the form in the form designer and open the toolbox.
- In the toolbox open the section for Arrangement and click on Placing.

Hover the cursor over different sections of the form. The sections that have red borders can have additional control elements added to them.

- Click on a red-bordered sections as to designate it as the place for the new control element.
The Place properties dialog will appear. - Select the checkboxes of the elements you wish to add to the form. Click OK to confirm you choices.
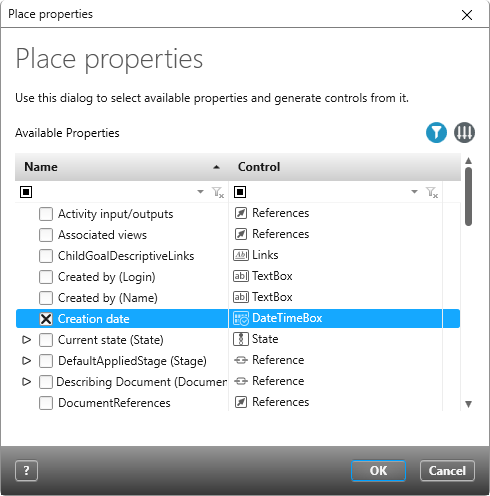
The control element is added.
- In the form designer, click Save.
Replace Properties
This option is only suitable for when you want to replace already-existing control elements of form; if you only wish to add new control elements, it’s best to use the toolbox approach. It’s also possible to keep the pre-existing control elements in a form with this method, however, you have to manually select all of them in the selection dialog.
- Open the form either by double-clicking on it or selecting the command Design in its context menu.
- Click on the grey lower-area of the form and…

- … open the Properties section.

- In the Layout header there is a blue button on the right hand side for Replace properties…. Click on this button.

- In the dialog that appears, select the properties with which you want to replace the control elements that already exist in the selected form. Click OK to save your choices. The old control elements in the form are duly replaced by these newly selected properties.
- In the form designer, click on Save to apply these changes.