Create and customize templates
A project template reduces the effort and time you would normally spend creating new projects. You can create different project templates. The settings, templates or state machines contained in them are automatically transferred to the new project when you create a project. By default, objectiF RM contains project templates that you can use for new projects.
Creating a new project template
Templates are always based on an existing project template or on a project. If you want to create a project template based on an existing project, export the (complete) project as a sxmi file using the backstage menu.
- You create a new project template via the backstage menu by choosing Create / New Project.
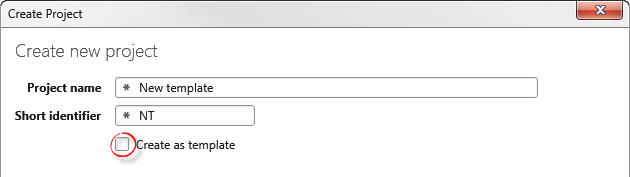
- Give the template a name and define a project abbreviation.
- Select the option Create as template.
- Under Create in, select an organization by selecting it.
- Depending on whether you have a project template as a file or you want to use an existing project template, click on the Project templates or File tab.
- Click Create.
Once the template has been created, the system issues a message. The project template appears as a gray tile in the userboard.

Import project template
microTOOL provides you with project templates in an Amazon cloud that you can download and import.
- Go to the backstage menu and select Create / Import project template from catalog.
- In the following dialog, click the button behind Available project templates to load all available templates.
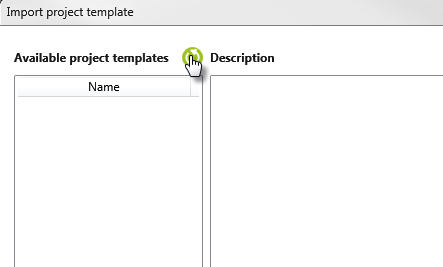
If project templates exist, they are displayed in the Name column. To the right you will find a description of the template.
- Select a template and click Import.
The project template is now available in the system.
Change project template and transfer to project
If a used project template has been edited in the meantime, you can apply the changes to the projects based on the template.
-
Open a project.
-
In the backstage menu, click Project/ Merge from Template.
-
In the following dialog Differences between Template and Project you can see which data has been added (green) to the opened project, which data does not exist in the template or has been deleted (red) and which data has differences (yellow).
-
Select the new elements and/or the changed ones and click Continue. The changes are now available in the project.
Configuration – Replace placeholders with project-specific names
If you create new projects, you can define the names of packages, diagrams, activities, etc. individually in the second step by replacing placeholders. If the project is then created, the placeholders are automatically replaced by the new names.
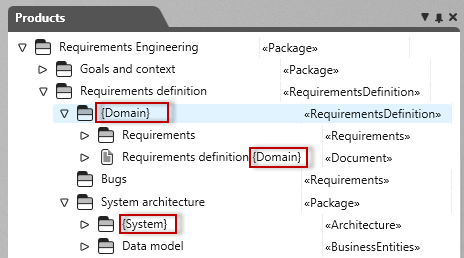
You can determine which placeholders are to be replaced by which names. Think in advance which placeholders are required and then write the placeholders in braces in the names in the Products window. Note that only placeholders that appear in the name of an element, chart, document, etc. are replaced.
So that the placeholders can be automatically replaced by other names when creating the project, you must first enter the placeholders in an xml text.
- Open the project template.
- In the backstage menu, select Edit Project/ Configuration.
- In the following dialog you define which placeholders should be automatically replaced by explicit names when creating a new project.
- Add further placeholders to the xml by copying and pasting a line – beginning with <Placeholder... -.
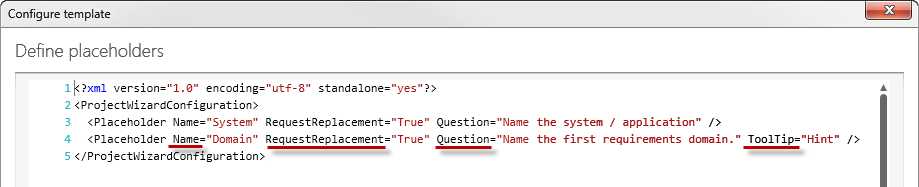
- Overwrite the red areas with the corresponding contents.
Name stands for the placeholder assigned in the template. Use RequestReplacement to specify whether the text is to be displayed (true) or not (false). After Question, you enter for the later user what is to be replaced or what is to be entered. After ToolTip you can enter further notes.
- Save the configuration with OK.
xml-Snippet
If you have accidentally deleted the xml text, you can copy the following code and paste it into the dialog. The red digits can be replaced by other values:
<?xml version=“1.0″ encoding=“utf-8″ standalone=“yes“?>
<ProjectWizardConfiguration>
<Placeholder Name=“Team A“ RequestReplacement=“True“ Question=“Name the first team?“ ToolTip=“Note„/><ProjectSetting RequestStartDate=“True“ />
</ProjectWizardConfiguration>