Further form settings
Define tooltip
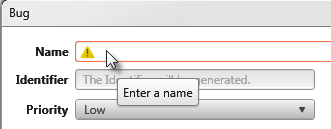
You can specify tooltips for the individual controls that describe to the user what is to be entered in the control.
- Open the form via the context menu command Design.
- Click on the control and show its properties.
- Open the entry Miscellaneous and enter a description under Tooltip.
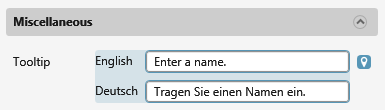
- Click on the grey dot and enter the tooltip in English.
- Click Save.
Language change
objectiF RM is delivered with a language conversion function. This means that you can switch between German and English at any time. If you also want to offer new forms in two languages, you must specify alternative names, texts, and links for the individual controls, help pages, and tool tips, which are displayed as soon as the language is changed.
- Open the form using the Design context menu command.
- Click on a control and display its properties.
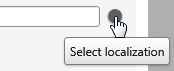
- A gray dot behind a property indicates that an alternative text can be entered here.
- For the German or English interface, enter what is to be displayed as soon as the language is changed.

- Check how the localization affects the form by clicking Language in the upper right corner of the screen and selecting Deutsch or English.

All areas in objectiF RM are now displayed in the selected language.
Defining a help page for a form
Each form has a question mark at the bottom – next to the buttons for creating, saving and closing – on the left side, which you can use to call up a help page. By default, the tool redirects you to the online help. However, you can also define your own help for your forms.
- Open the form via the context menu command Design.
- Click on the lower gray area of the form and…
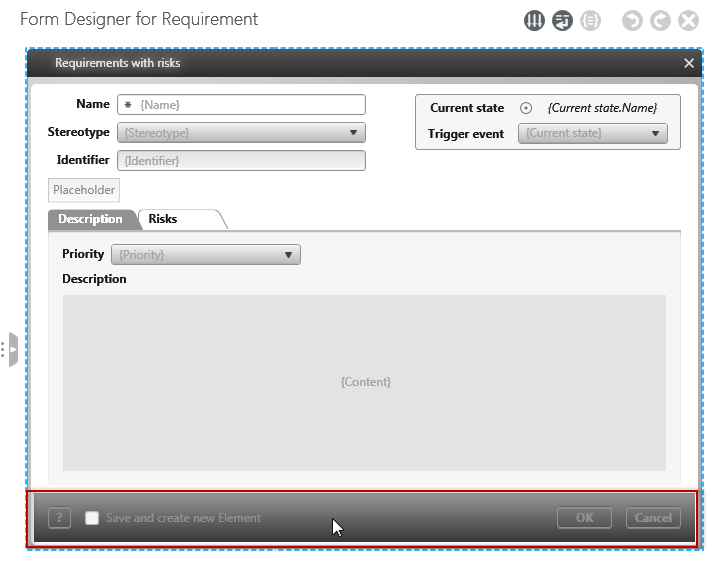
- …show the properties.

- In the Dialog entry, expand the Help property.
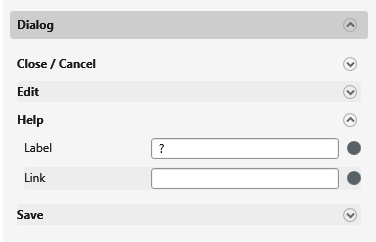
- In the field Link enter a link to the new help page or enter the path to a document.
- Click on the grey dot behind the Link and enter a link or path for English-speaking users.
- Click on Save.
Replace controls
If existing forms are no longer valid, or if you require additional controls in the form, you can easily adjust the form by replacing the controls. Note that existing controls are also replaced when you swap them. If you want to keep controls, you must select the controls again when you replace them. Alternatively, you can use the toolbox to insert new controls and assign the properties to be displayed manually.
- Open the form via the context menu command Design.
- Click on the lower gray area of the form and…
- …show the properties.
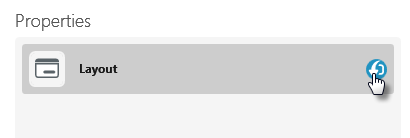
- Click the Replace properties button behind Layout.
- In the next dialog box, select the properties to be used in the form and confirm with OK.
All properties in the form are replaced by the new properties. - In the Form Designer, click Save to apply the changes.